This article contains the following information:
Accessing Custom Sign-Up Fields Settings
Using the custom sign-up fields allow you to collect additional details from your students when they sign up for an EdReady account. This information is stored in EdReady, available for viewing as an Admin, and can be included in emailed/ downloaded reports.
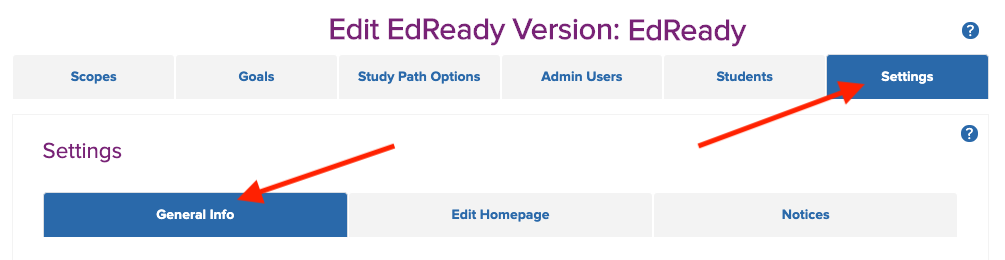
To start using these fields, start on your Admin page, and go to Settings >> General Info, scroll down toward the bottom of the page and click the Activate dialog to add custom sign-up fields checkbox.
You will see a “Notice!” pop-up, with additional details about using these fields. Please read the enclosed details and, if you agree, scroll to the bottom and click I Understand.
The display of the General Info tab will update:
Adding/Editing Custom Sign-Up Fields
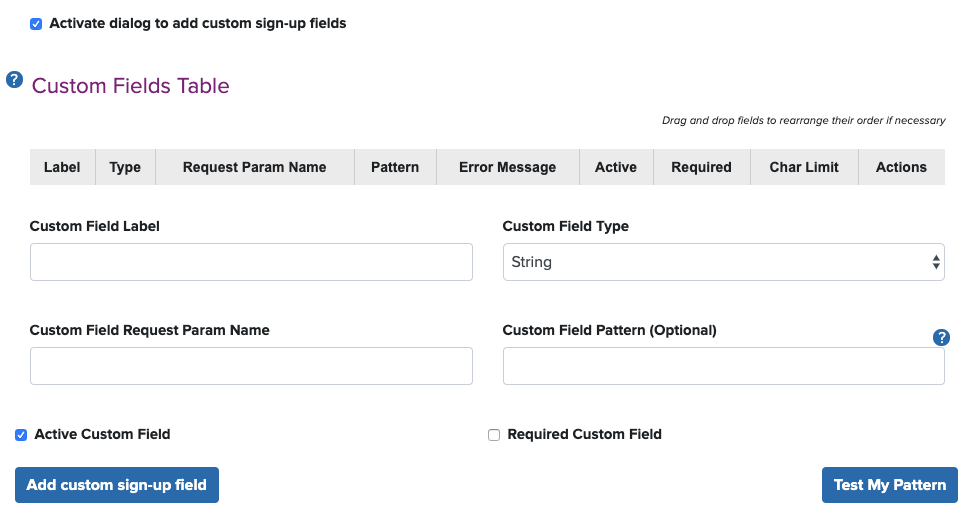
To define a custom field, provide the following details:
- Custom Field Label: this is the name for this field. It is visible to students upon sign-up and will be the label for this information in the reports
- Custom Field Type: if students will be providing a date, select “Date” here; otherwise, select “String” to allow free text entry (including numbers).
- Custom Field Request Param Name: this is the parameter name of the field stored in EdReady. Students will not see this name.
- Custom Field Pattern (Optional): you can optionally determine if there should be any extra validation on the information entered. For example, should students be entering a 6-digit Student ID? An alternate email address? By using a JavaScript regular expression here, you can potentially reduce the number of input errors in the data.
- See this help center article for details on using the Custom Field Pattern, but we strongly suggest you submit a request (see top of this page) for additional guidance when using this field.
- Active Custom Field: when true, students will see this field upon sign-up. However, the field will be optional unless you check the “Required Custom Field” box (see below).
- If there are data stored for a field, even if this field is now inactive, it will be visible as an Administrator (when editing a student) and in the emailed reports
- Required Custom Field: when true, students must complete this field in order to finish the registration process.
Use the Test My Pattern button to double-check your validation code and the error messaging.
Once you have filled out these fields, click the Add custom sign-up field button to save your new field in the list of additional fields. You must click on the Save Changes button to publish these fields (or any changes you made) for students signing up to your site.
The details for your field will be displayed in the on-screen table:

If you need to make changes, click the Edit link in the Actions column. Note: once a field has been used by students, you will no longer be able to delete it.
Comments